

Hello and thanks for checking out my first Project post! Today I’ll be recapping on our Hallway Makeover which we completed earlier this year…
When we first moved in, our hallway was bland and boring with grey, beige and white – basically my worst nightmare! We had a shabby carpet but I’d always dreamed of rustic hard wood floors. One Sunday after taking my husband for dinner and plying him with wine, he agreed to go for it and that night we ripped the carpet up ourselves and so the project began.

Part One: Preparing the floorboards
We were lucky with this element of the project – because our carpets were so old, they came up really easily and there wasn’t too much fuss. The fiddliest and most annoying part of this process was pulling up all of the staples and grippers from every. single. step.
Ultimately, our floorboards were in semi-decent condition and didn’t need too much work. Upstairs, we had one floorboard that had to be replaced and once that was done, we got to work on the prep.


The first thing I’ll say is that sanding floorboards is a task I wouldn’t recommend to anybody. The mess, the noise, and the dust (so much dust) seems to infiltrate the entire house for weeks and weeks, however, we were on a budget with this one so DIY was the only option. After hiring some power tools (a belt sander and a hand sander for the fiddly bits) we got to work and honestly, using the sander itself is exhausting. It took two days in all to sand down the floorboards in the hall, stairs and on the landing and we also sanded as much of the gloss off the skirting boards and banister as possible to prep for the paint we’d later be putting on. As boring and tedious as it definitely is, the prep is everything on a project like this so don’t skip it!


The next part of the prep is something we don’t like to talk about in this house (…!). To cut a long story short, after spending an entire weekend cleaning, sanding and prepping, we got home from B&Q on the Sunday evening with a big tin of Ronseal Wood Varnish to varnish the floorboards, and Guy dropped the entire tin all over the floor. After a panic to spread it all out, we managed to salvage the floorboards and here’s the result!


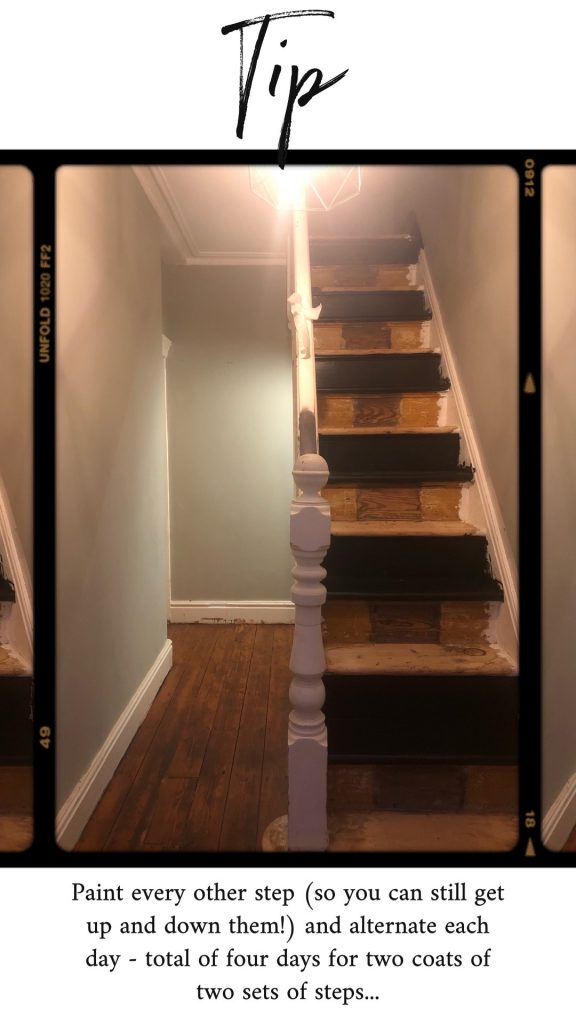
Part Two: Painting the stairs
Next it was time to get painting the staircase. We decided we wanted to go to go for a matte black on our stairs, bannister, upstairs floorboards and skirting boards. Over a total of four days, we alternating painting on each step (so we could still get up and down them) and I was instantly in love with the results.
I did have a few questions at this stage about whether it would be best to paint the stairs before the wall or the wall before the stairs. We decided to get the black down first as (hopefully) if there were any spillages from the wall paint (pink) we’d be able to cover them quite easily, so my advice for anybody following suit is to go from dark to light.


Part Three: Painting the walls
For anyone who hasn’t painted a hallway before – prepare yourself – it’s hard work! Getting up to paint the ceiling above the stairs is really tricky business.
I loved the idea of a pink & black combo after scouring Pinterest for weeks and weeks so had a little play with some colours from brands including Farrow & Ball and Valspar. I loved the idea of Sulking Room Pink but it was just too dark for the space (our hallway has very little natural light), so decided to go with a slightly lighter variation called Cinder Rose.


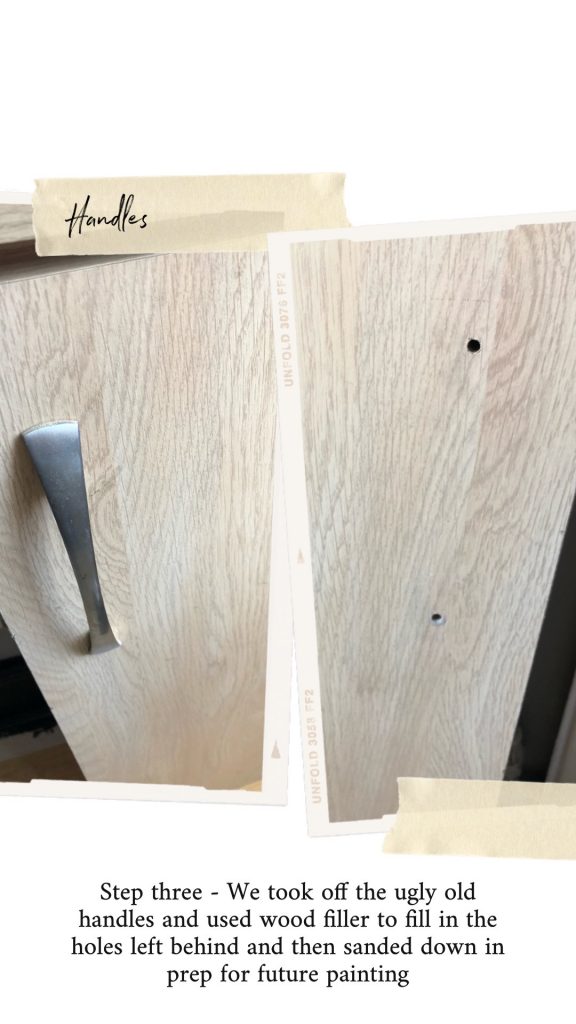
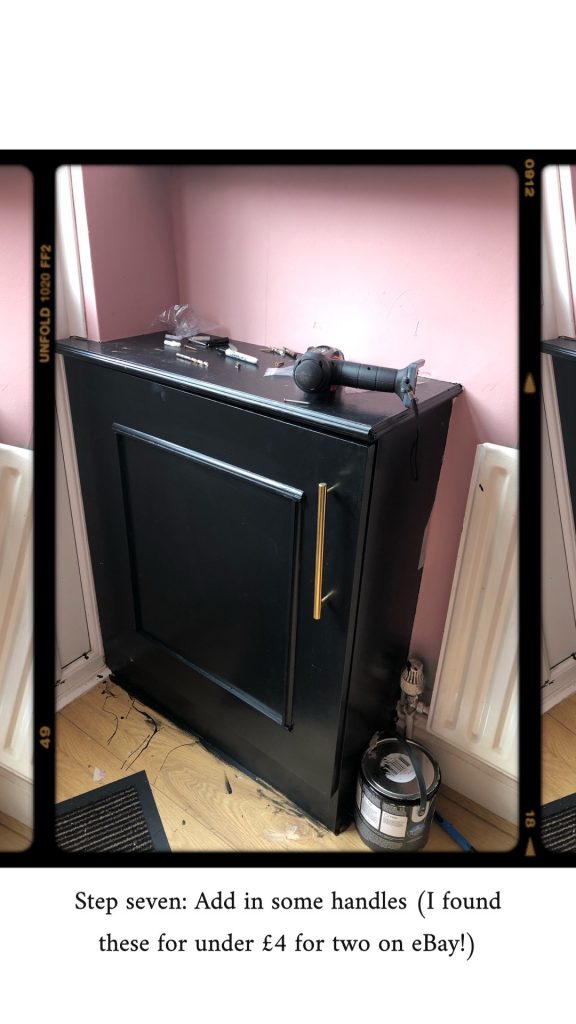
Part Four: Upscaling the cupboards


Part Five: Styling!
By far the best part of any interiors project – styling!
I really wanted to hide away some of the built in clutter in the hallway (e.g. the alarm box, sensor, etc.) so I used some clever shelf styling to hide it away.


Next, we headed to my favourite store Homesense to pick up a few decorative bits. As is always the way with me and Homesense, I ended up falling totally in love with this amazing telephone seat and director’s lamp, and although I’d planned to spend £50 on a few bits and bobs I left £300 lighter but honestly, it was so worth it! The quality of these pieces is amazing and I know they’ll last and last.
So there you have it, our hallway makeover! I’m still so happy with how the space turned out and how great the pink and black look together.


Leave a Reply